DNS (Domain Name System) is the phonebook of the internet. It translates human-friendly names like example.com into the numerical IP addresses that computers use to find each other. When your DNS server is slow, overloaded, or geographically distant, every website you visit can feel sluggish even if your internet connection is fast. Switching to a public DNS resolver like Cloudflare or Google can noticeably speed up name resolution, improve privacy, and sometimes bypass throttling that your ISP may apply.
This guide walks you through three ways to change your DNS server in Windows 11: through the modern Settings app, the classic Network Connections panel, and the command line. Pick whichever method feels most comfortable. The Settings app is the simplest path for most users, while the Network Connections panel gives you finer control over both IPv4 and IPv6 at once.
Before You Start: Note whether you are connected over Wi-Fi or Ethernet, because the menus differ slightly between the two. You should also decide on a public DNS provider ahead of time. Reliable, free options include Cloudflare (1.1.1.1 and 1.0.0.1), Google (8.8.8.8 and 8.8.4.4), and OpenDNS (208.67.222.222 and 208.67.220.220). If you are using a work or school computer managed by IT, check with your administrator first, since organization policies can override your changes or revert them automatically.
Step 1: Open Settings
Press the Windows key + I on your keyboard to launch the Settings app immediately. You can also right-click the Start button and choose Settings from the menu that appears. This opens the main Settings home screen where all system configuration lives. If the window does not appear, wait a moment for it to load, then try the keyboard shortcut again.
Step 2: Go to Network & internet
Click Network & internet in the left sidebar of the Settings window. This section holds every setting related to your connection, whether you are on Wi-Fi, Ethernet, a mobile hotspot, or a VPN. Once here, you will see a list of connection types on the right side. Choose the one that matches how you are currently online.
Step 3: Open your connection’s settings
Click Wi-Fi or Ethernet depending on your active connection. If you are wireless, click Wi-Fi; if a cable is plugged into your PC or laptop, click Ethernet. On the page that opens, look for a link labeled DNS server assignment and click it. This link is what controls how your computer learns which DNS server to use. If you do not see it, make sure you clicked the correct connection and not a different one in the list.
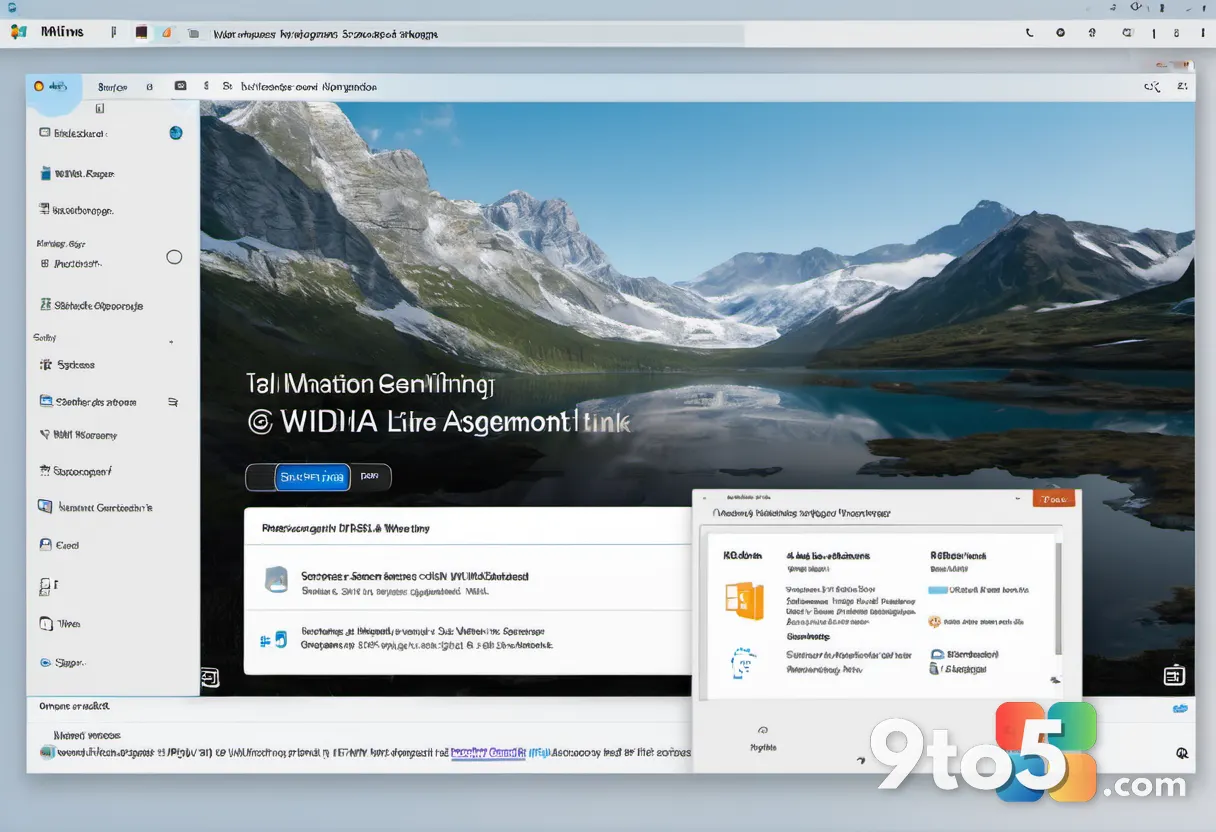
Step 4: Access the DNS server assignment menu
Click the Edit button next to DNS server assignment. A small popup window will appear asking how you want your DNS to be assigned. By default, Windows uses Automatic (DHCP), which means your router hands out a DNS address automatically. That default server is often your ISP’s resolver, which can be slow or log your activity. Changing this setting is the whole point of this guide.
Step 5: Change the DNS assignment to manual
Click the dropdown menu and choose Manual. Then turn on the switch for IPv4 if you want to edit standard IP-based DNS addresses. Turn on IPv6 as well if you use it and want to configure a matching public resolver. Selecting Manual tells Windows you will type in your own DNS addresses instead of relying on the automatic assignment. Without this step, the address fields below will stay grayed out and unavailable.
Step 6: Enter your new DNS addresses
Click Edit again under Preferred DNS and type your chosen primary address. For Cloudflare, enter 1.1.1.1; for Google, enter 8.8.8.8. Next, fill in the Alternate DNS field with a backup address such as 1.0.0.1 or 8.8.4.4. Using an alternate address means your browsing keeps working even if the primary server is temporarily down. Type each number carefully, then click Save.
Pro Tip: If you want maximum speed and privacy, Cloudflare’s 1.1.1.1 is widely regarded as one of the fastest public resolvers. If you prefer parental controls and malware blocking, consider OpenDNS or a family-safe resolver like Quad9 (9.9.9.9). Write down the addresses you choose so you can switch back later if needed.
Step 7: Save and flush the DNS cache
Restart your connection or flush the DNS cache to apply the change. The fastest way is to open Command Prompt as administrator and run ipconfig /flushdns. This clears Windows’s stored DNS entries so it starts using your new server immediately instead of holding onto old ones. You can also toggle Wi-Fi off and back on, or restart your PC, to achieve the same effect. After this step, open a browser and load a website to confirm everything works.
Alternative Method: Use the Network Connections Panel
Some users prefer the older Network Connections window because it lets you edit both IPv4 and IPv6 together and works well on enterprise editions of Windows 11 Pro, Enterprise, and Education.
Step 8: Open Network Connections
Press the Windows key + R, type ncpa.cpl, and press Enter. This command opens the Network Connections folder directly, showing every adapter on your computer. Find the adapter you use for the internet, right-click it, and choose Properties. This path bypasses the Settings app and reaches the same underlying network configuration.
Step 9: Open the IPv4 properties
Select Internet Protocol Version 4 (TCP/IPv4) and click Properties. Do not click the item itself, or you will only see a short help box. With it highlighted, press the Properties button to open the real configuration window. If you want IPv6 support, repeat this step for Internet Protocol Version 6 (TCP/IPv6).
Step 10: Enter DNS and apply
Select Use the following DNS server addresses and type your values. Enter your primary and alternate DNS numbers in the fields provided, then click OK. Click OK once more on the adapter Properties window to close it. Your new DNS settings take effect right away, and you can verify them by running ipconfig /flushdns or by visiting a website.
Troubleshooting
Websites will not load after the change. This usually means you typed an address incorrectly or the resolver is temporarily unreachable. Double-check that the numbers match your chosen provider, then run ipconfig /flushdns and try again. You can also test connectivity by opening Command Prompt and running ping 1.1.1.1; a successful reply confirms the server is reachable. If it fails, switch to a different public resolver or revert to Automatic (DHCP).
Your DNS settings keep reverting to the default. On managed work or school computers, group policy or management software can reset your configuration automatically. In that case, the fix is to contact your IT administrator rather than fighting the settings. On a personal PC, a router firmware update or a network profile change can also reset DNS, so reapply the settings if that happens.
Browsing is still slow after switching DNS. DNS only affects how fast names resolve, not the actual download speed of a page. If pages still feel sluggish, the bottleneck is likely your internet connection, router, or Wi-Fi signal rather than DNS. Test your speed with an online speed test, and consider moving closer to your router or checking your ISP’s service status.
Closing Tips
- Write down the DNS addresses you set so you can revert quickly if a provider has an outage.
- Keep an alternate DNS address filled in so your connection stays resilient if the primary server goes down.
- On Windows 11 Pro, Enterprise, and Education, you can also manage DNS through Group Policy for fleet-wide changes.
- Re-run
ipconfig /flushdnswhenever you change DNS settings to make sure old entries do not linger.
Changing your DNS server in Windows 11 is a quick tweak that can make your browsing feel snappier and keep more of your search activity private. Follow the steps above, and you should see an improvement within minutes.
Over to you: Which DNS provider have you tried, and did you notice a difference in browsing speed?