Virtual desktops let you split your screen into separate workspaces, each with its own set of open apps and windows. Instead of cramming a dozen browser tabs, your email client, and a chat window onto one cluttered display, you can give each task its own clean desktop. This feature is especially handy if you share a single PC between work and personal use, or if you want to reduce distractions during focused work sessions.
In Windows 11, virtual desktops are built directly into the Task View interface, so you do not need to install any third-party software. This guide walks you through creating, naming, organizing, and switching between virtual desktops, plus the keyboard shortcuts that make the whole system feel fast.
Before You Start
This guide targets Windows 11 (versions 22H2 and 23H2, plus the latest 24H2 build). The steps also work on Windows 11 Enterprise and Education editions, which add a few extra management options but use the same core Task View interface. You need at least one user account with standard administrator access; no special privileges are required to create desktops.
Step 1: Open Task View
Click the Task View button on your taskbar, or press the Windows key plus T. The Task View button looks like two overlapping rectangles and usually sits near the center of the taskbar, next to Search and the Task View app. Pressing Win + T opens Task View with a keyboard shortcut instead of a mouse click.
When Task View opens, you will see all of your currently open windows spread across the bottom of the screen, along with a row of virtual desktop thumbnails running along the top edge. If this is your first time using the feature, you will likely see only one thumbnail labeled “Desktop 1.” This is your default desktop, and everything you currently have open lives here.
Step 2: Create a New Virtual Desktop
Click the “New desktop” button in the top-right corner of Task View. The button appears as a light square with a plus sign inside it, sitting to the right of your existing desktop thumbnails. Clicking it instantly creates a second, blank desktop and switches you over to it automatically.
You will notice that the new desktop starts empty, which is exactly the point: it gives you a fresh canvas to fill with only the apps relevant to that workspace. You can repeat this process to build as many desktops as you like, though most people find two or three is plenty. If you accidentally create one you do not want, you can close it in Step 7.
Step 3: Name Your Desktops
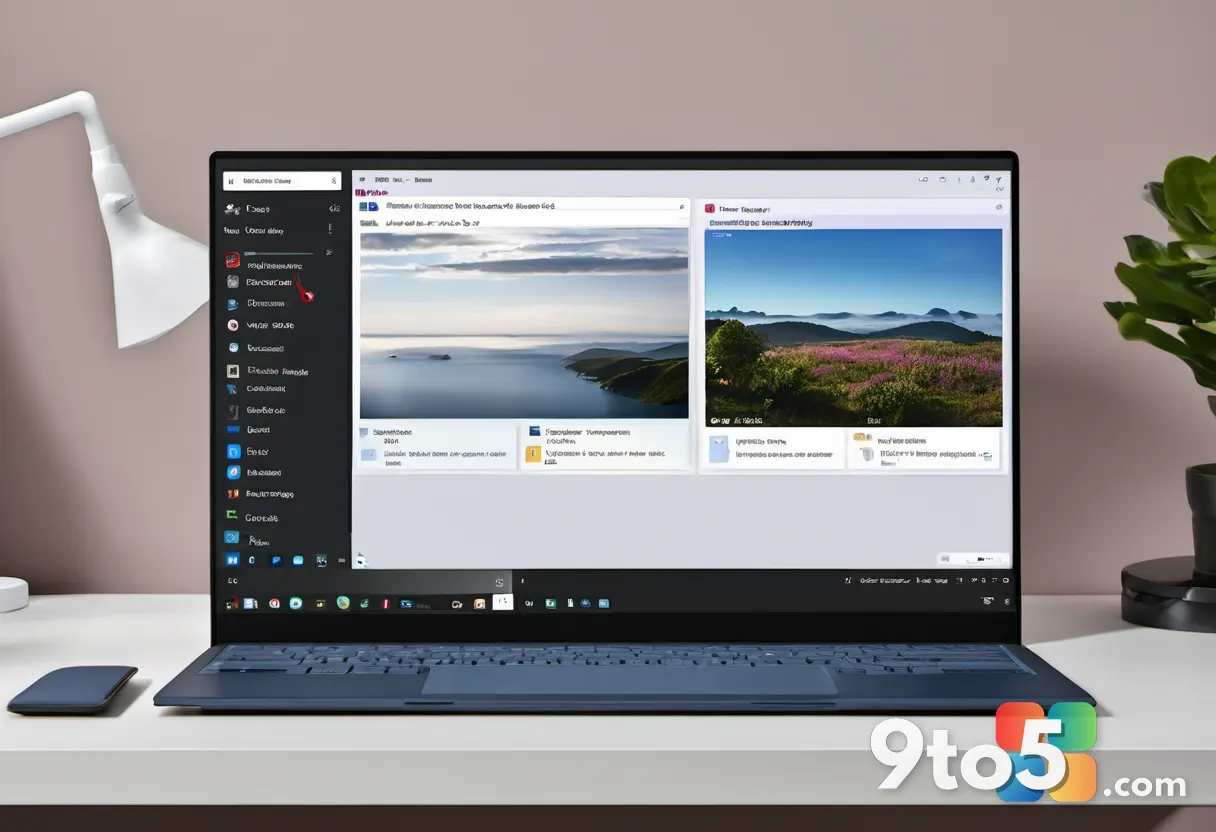
Hover your mouse over a desktop thumbnail and click the “Rename desktop” text field that appears. When you hover over a thumbnail in Task View, a small name box pops up beneath it, usually showing “Desktop 2” or “Desktop 3.” Click inside that box and type a label that makes sense to you, such as “Work” and “Personal.”
Renaming your desktops keeps them easy to tell apart when you glance at the thumbnail bar, especially once you have three or four of them open. Windows saves each name automatically, so you can move on to the next step right away. If the name box does not appear, make sure your cursor is hovering directly over the thumbnail rather than over an open window below it.
Step 4: Move Windows Between Desktops
Open Task View, hover over the window you want to move, and click the “Move to” arrow at the top of that window. The Move to menu lists all of your named desktops, so you can click “Work” or “Personal” to send that window straight to the right place. This is the fastest way to sort your apps into separate workspaces without dragging anything.
Alternatively, you can click and hold a window in Task View and drag it directly onto a desktop thumbnail, then release to drop it there. Both methods work identically, so pick whichever feels more natural. Once a window moves, it disappears from your current desktop and reappears only when you switch to the desktop that now holds it.
Step 5: Switch Between Desktops
Press the Windows key plus Control plus the Left or Right arrow to jump between desktops. Holding Win + Ctrl and tapping the arrow key moves you one desktop at a time, in the direction the arrow points. This shortcut becomes second nature after a few uses and is far faster than reopening Task View each time.
You can also switch desktops by opening Task View and clicking the thumbnail of the desktop you want, or by swiping left and right with three fingers on a laptop touchpad. The touchpad gesture mirrors the arrow-key shortcut, so it works well on machines with a responsive trackpad. If the four-finger or three-finger swipe does not respond, check that trackpad gestures are enabled in Settings under Bluetooth & devices > Touchpad.
Pro Tip: Keep your most-used apps pinned to specific desktops by opening them there first. Windows remembers which desktop each window belongs to, so next time you launch that app it will reappear on the same desktop you assigned it to.
Step 6: Give Each Desktop a Different Background
Right-click anywhere on your desktop background and choose Personalize, then pick a wallpaper. The change applies only to the desktop you are currently viewing, so each virtual desktop can carry its own image. Setting distinct backgrounds gives your brain a visual cue that helps you switch mental gears between work and personal mode.
This feature works best when you pair it with your desktop names: for example, use a neutral solid color or a work photo on your “Work” desktop and a vacation picture on your “Personal” desktop. Enterprise deployments can push different wallpapers to different desktops through Group Policy, but the manual method above is all most users need. If your wallpaper does not stick, make sure you are not accidentally changing the background on the wrong desktop thumbnail.
Step 7: Close a Virtual Desktop
Open Task View, hover over the desktop you want to close, and click the small X in its top-right corner. Clicking the X closes that entire desktop and sends all of its open windows to the adjacent desktop, so you do not lose any of your work. Windows usually sends them back to the desktop you were using before, which keeps things tidy.
You can also close the active desktop with the keyboard shortcut Win + Ctrl + F4, which is handy when your hands are already on the keyboard. Keep in mind that closing a desktop moves its windows rather than quitting them, so any unsaved work stays intact. If you meant to quit an app instead of moving it, close the individual window first before closing the desktop.
Step 8: Learn the Essential Shortcuts
Memorize these four shortcuts and you will rarely need the mouse for virtual desktop work. Here is the core set to keep within reach:
Win + T— Open Task View to see all windows and desktops.Win + Ctrl + Left/Right— Switch between virtual desktops.Win + Ctrl + D— Create a new virtual desktop instantly.Win + Ctrl + F4— Close the current virtual desktop.
Practice these one at a time until they feel automatic, then layer in the next. Once they are muscle memory, organizing your workspace takes seconds rather than minutes. If a shortcut seems unresponsive, confirm that you are holding all four keys together in the correct order rather than pressing them in sequence.
Troubleshooting
Virtual desktops disappear or reset after a restart
In rare cases, a Windows update or a corrupted user profile can reset your desktop layout. Make sure you are signed in with a Microsoft account or a locally linked password, since purely guest-style sessions sometimes fail to persist settings. Sign out and back in, then reopen Task View to confirm your named desktops are still there. If the problem continues across multiple restarts, run the Windows Troubleshunter under Settings > System > Troubleshoot > Other troubleshooters.
You cannot find the Task View button on the taskbar
If the overlapping-rectangles icon is missing, it may have been hidden by a taskbar setting. Right-click an empty area of the taskbar, choose Taskbar behaviors, and turn on “Show Task View button.” The button should reappear immediately. On some enterprise-managed devices, this option may be locked by policy, in which case you can still open Task View with the Win + T shortcut.
Windows will not move to another desktop
If switching desktops feels stuck, the issue is often the touchpad gesture conflicting with the keyboard shortcut. Disable three-finger swipe navigation under Settings > Bluetooth & devices > Touchpad, then rely on the Win + Ctrl + Arrow keys instead. You can also force a refresh by pressing Ctrl + Shift + Esc to open Task Manager and ending the explorer.exe process, which restarts the shell and clears temporary glitches.
Closing Tips
Start with a simple two-desktop setup before building an elaborate multi-desktop system, since extra desktops add navigation overhead without always adding value. Assign the same apps to the same desktop every time so Windows can learn your habits and restore them automatically. Consider using virtual desktops alongside Focus Assist to further block notifications on your work desktop, keeping personal pings from pulling your attention during deep work.
With these basics in place, your PC will feel noticeably more organized, and switching between work mode and personal mode becomes a single keystroke away.
Over to you: Do you keep work and personal apps on separate virtual desktops, or do you mix everything onto one screen?