Running into persistent crashes, sluggish performance, or stubborn malware often leaves Windows 11 users weighing their options. Before you reach for a full wipe and reinstall, you should know that Windows includes a built-in recovery feature designed to restore system files to their original state while preserving your documents, photos, and media. This guide walks you through the exact process to reset Windows 11 without losing personal files, keeping your data intact while giving your PC a fresh start.
Before You Start: Connect your PC to a reliable power source and ensure your Wi-Fi network is stable. The reset process can take anywhere from thirty minutes to several hours depending on your hardware. Back up critical documents to an external drive or cloud storage as a precaution, even though the procedure is designed to keep your files safe. If your device uses BitLocker encryption, locate your recovery key before beginning, as the reset may trigger a re-authentication prompt.
Step 1: Open the Settings App
Click the Start button and select the gear icon to launch Windows Settings. You can also press Win + I on your keyboard to open the app instantly. The Settings window serves as the central hub for all system configurations, including recovery options. If the gear icon does not appear, type “Settings” into the taskbar search box and select the app from the results. Ensure you are signed in with an administrator account, as standard user profiles cannot access system recovery tools.
Step 2: Navigate to the Recovery Section
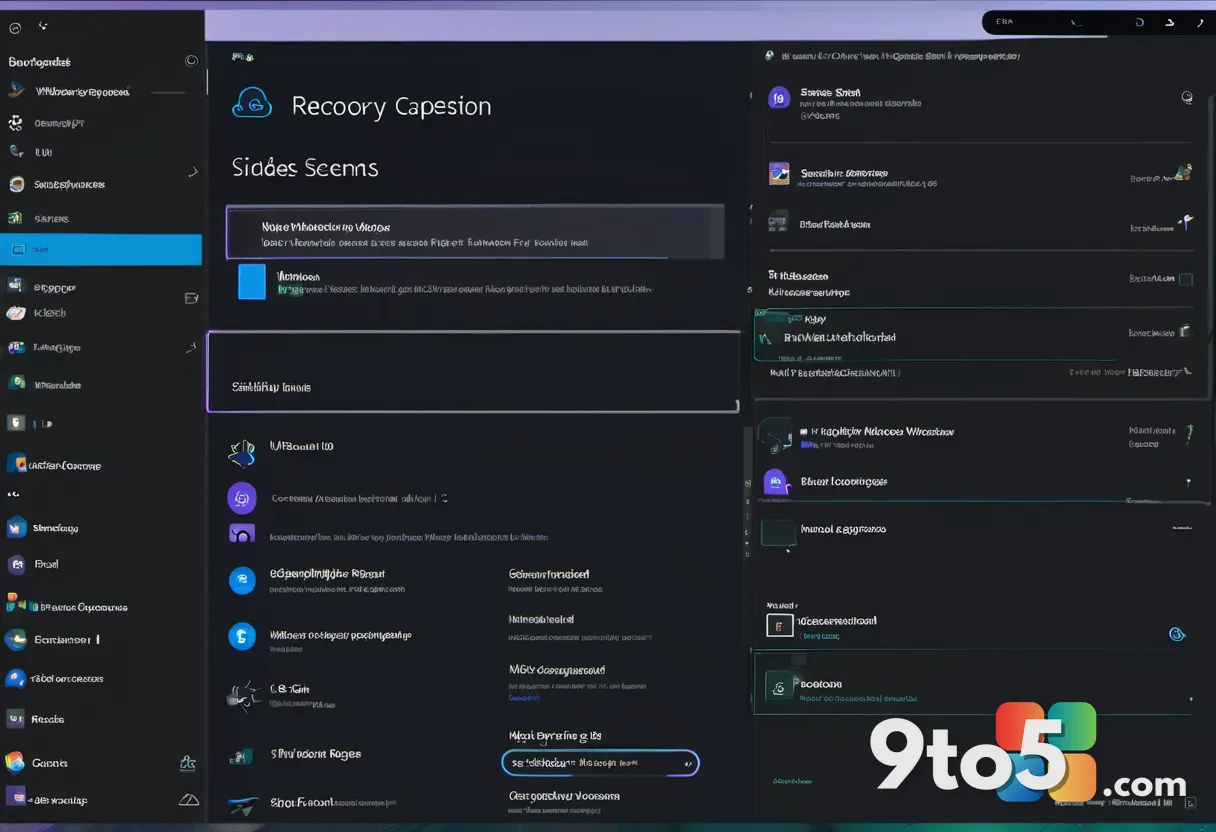
Click System in the left sidebar, then select Recovery on the right panel. The System menu displays your PC’s core information, while the Recovery page houses the tools needed to refresh or reset your operating system. You will see a section labeled “Recovery options” near the top of the page. If you do not see the Recovery option, verify that your Windows license is activated and that you are running the latest cumulative update. Enterprise editions like Windows 11 Enterprise may require you to use Group Policy or Microsoft Endpoint Manager for recovery tasks.
Step 3: Initiate the Reset Process
Click the Reset PC button under the Recovery options heading. A confirmation dialog will appear asking whether you want to keep your personal files or remove everything. This button triggers the Windows Recovery Environment (WinRE), a lightweight partition that runs before Windows fully loads. If the button is grayed out, your system may require an update, or WinRE might need to be reactivated through the command prompt by running reagentc /enable as an administrator.
Step 4: Choose the Keep My Files Option
Select Keep my files from the two available choices. Windows will display a brief explanation of what this option does: it removes apps and drivers you installed, resets settings to their defaults, and reinstalls Windows system files. Your personal data in the C:\Users\YourName folder remains untouched. Avoid selecting “Remove everything” unless you plan to sell the device or need a complete clean slate. The system will warn you that some files might be moved to a Windows.old folder if they conflict with the new installation.
Step 5: Select a Download Method
Choose between Cloud download or Local reinstall. The Cloud download option retrieves fresh Windows 11 installation files from Microsoft’s servers, which is ideal if your current system files are corrupted. The Local reinstall option uses existing files already on your device, which works better if you have limited internet bandwidth. Both methods preserve your personal documents, but the cloud option often produces a more reliable reset when dealing with deep system issues. Microsoft recommends a minimum of 4 GB of free storage for local reinstall and a stable connection for cloud downloads.
Pro Tip: If you choose Cloud download, make sure your network connection is stable. Interrupted downloads during this phase can cause the reset to fail, forcing you to start over. You can monitor your download progress in the Settings window without closing it, and Windows will pause automatically if the connection drops.
Step 6: Review Settings and Confirm
Click the Next button to review the reset configuration. Windows will display a summary showing that your personal files will be kept while apps and settings are restored to default. Take a moment to verify that the correct option is selected. Click Reset to begin the process. Your PC will automatically restart and enter the recovery environment. You may see a message stating that Windows is preparing to reset your PC, which can last a few minutes.
Step 7: Wait for the Reset to Complete
Allow the PC to run through the setup phases without interrupting it. You will see a percentage counter on a blue screen, followed by several restarts as Windows reinstalls system components and applies your selected configuration. Your screen may go black briefly between restarts, which is completely normal. Do not power off the device, even if it appears stuck at a certain percentage for an extended period. The process typically finishes with a “Your PC is ready to use” message, followed by the initial Windows 11 out-of-box experience.
Troubleshooting Common Reset Issues
Reset fails with error code 0x80070005: This permission error usually stems from third-party antivirus software blocking the recovery process. Temporarily disable your antivirus program, ensure you are running Windows as an administrator, and attempt the reset again. Re-enable your security software once the process finishes. If the error persists, run sfc /scannow in an elevated command prompt to repair corrupted system files before retrying.
Cloud download fails or times out: Switch to the Local reinstall option and retry the reset. If local files are also corrupted, you may need to create a Windows 11 installation media using the Media Creation Tool on another computer. Boot from that USB drive and choose the upgrade option to repair your system while keeping files. You can also clear your DNS cache by running ipconfig /flushdns in an elevated command prompt before attempting the cloud download again.
PC restarts in a loop after reset: Disconnect all external peripherals, including USB drives, printers, and secondary monitors. Sometimes hardware conflicts prevent Windows from completing the final configuration. If the loop continues, you may need to access Advanced Startup options by interrupting the boot process three times in a row, then navigate to Troubleshoot > Advanced options > Startup Repair. This automated tool scans for boot configuration errors and attempts to fix them without data loss.
Final Tips After Reset
Run Windows Update immediately after the reset finishes. Microsoft frequently releases cumulative patches that improve stability and security. Open Settings > Windows Update and click Check for updates to ensure your system runs the latest build. Installing drivers for your motherboard, GPU, and peripherals through Windows Update often resolves lingering performance issues.
Reinstall your essential applications in small batches. Rather than restoring every program at once, install your most critical tools first and monitor performance. This approach helps you identify any software that might have contributed to the original system issues. Check the vendor websites directly for the latest versions instead of relying on outdated installers.
Verify your personal files are intact. Open File Explorer and navigate to your Documents, Pictures, and Desktop folders. Confirm that your important files are present and accessible. If you notice missing data, check the C:\Windows.old folder, which Windows sometimes creates during recovery and may contain remnants of your previous setup. You can safely delete this folder after confirming everything transferred correctly to free up disk space.
Over to you: Have you ever used the Keep My Files reset option, or do you prefer a full clean install?