If you’ve tried to update Windows 11 and received error code 0x80070422, your Windows Update service is likely disabled. This error commonly appears on systems where services were turned off for security, performance, or organizational policies. The good news is that you can re-enable the service yourself without needing advanced technical knowledge.
This guide covers the complete process for fixing error 0x80070422, along with solutions for other frequent Windows Update failures. You’ll learn how to check service status, restart critical services, clear update cache, and run the built-in troubleshooter.
Before You Start
Make sure you have administrator access to your Windows 11 PC. If you’re on a work or school device, you may need to contact your IT administrator before making service changes. Enterprise editions of Windows (Windows 11 Pro, Enterprise, and Education) support group policy controls that might override local service settings.
Step 1: Check the Windows Update Service Status
Open the Services console by pressing Win + R, typing services.msc, and pressing Enter. This command opens the Services management window where you can view all background services running on your system. Look for Windows Update in the list—it’s usually near the bottom alphabetically. Check the Status column; it should show Running for normal operation. If it displays Stopped, that confirms the service is disabled, which causes error 0x80070422.
If you don’t see the Windows Update service at all, your system might have a corrupted service configuration. In that case, skip to Step 5 to reset the update components. You can also press Ctrl + F to search within the Services window and type Windows Update to locate it quickly.
Step 2: Start the Windows Update Service
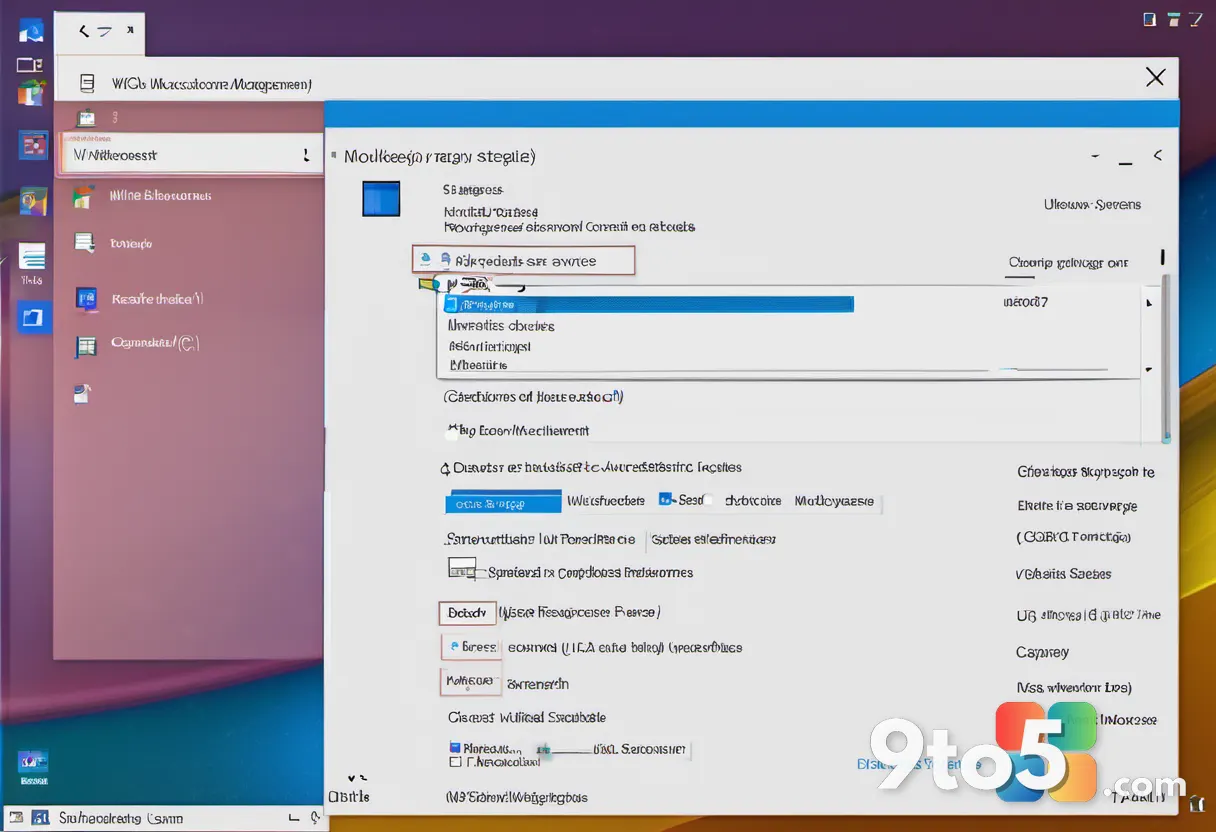
Right-click the Windows Update service and select Properties from the context menu. The Properties window opens with multiple tabs. Click the General tab to access the startup options. You’ll see a Startup type dropdown menu that currently shows Disabled if the service isn’t running.
Change the Startup type to Automatic using the dropdown menu. This setting ensures Windows Update starts automatically every time you boot your PC. Next, click the Start button below the Startup type option. The Status column should change to Running within a few seconds. Click Apply, then OK to save your changes.
If the Start button is grayed out, you might not have sufficient permissions. Right-click the Services window title bar and select Run as administrator, then repeat these steps. On Windows 11 Home, you should always have permission to modify local services.
Step 3: Verify Related Services Are Running
Return to the Services window and locate these additional services: Cryptographic Services, Background Intelligent Transfer Service (BITS), and Windows Installer. Windows Update depends on these services to download and install updates properly. Each one needs to be running for the update process to complete successfully.
For each service, right-click and select Properties, then set Startup type to Automatic and click Start if the status shows Stopped. Cryptographic Services handles digital signatures and encryption for update files. BITS manages the actual download process in the background. Windows Installer processes .msi installation packages that many updates require.
If any of these services fail to start, note the error message that appears. You can research that specific error code for targeted solutions. In most cases, restarting your PC after enabling all services resolves the issue.
Step 4: Restart Your PC and Test Windows Update
Close the Services window and restart your computer by clicking Start > Power > Restart. A full restart ensures all service changes take effect and clears any temporary states that might interfere. Wait for Windows to fully boot before proceeding.
After restart, open Settings > Windows Update and click Check for updates. Windows will now attempt to connect to Microsoft’s update servers using the enabled services. If the update process starts normally and downloads files, error 0x80070422 is resolved. Monitor the progress bar to ensure it advances without stopping.
If you still encounter an error after restarting, the problem might be with the update cache rather than the service itself. Proceed to Step 5 to clear the cache and reset update components.
Step 5: Reset Windows Update Components
Open an elevated Command Prompt by searching for cmd in the Start menu, right-clicking Command Prompt, and selecting Run as administrator. You’ll see a black command window with a prompt that says C:\Windows\system32>. This elevated prompt has the permissions needed to stop services and modify system folders.
Type the following commands one at a time, pressing Enter after each:
net stop wuauserv— Stops the Windows Update servicenet stop cryptSvc— Stops Cryptographic Servicesnet stop bits— Stops Background Intelligent Transfer Servicenet stop msiserver— Stops Windows Installer
You’ll see messages confirming each service has stopped. If a service fails to stop, note the error and continue to the next command. Stopping these services allows you to safely rename the update cache folders.
Now rename the SoftwareDistribution and Catroot2 folders by typing these commands:
ren C:\Windows\SoftwareDistribution SoftwareDistribution.oldren C:\Windows\System32\Catroot2 Catroot2.old
Rename operations create backup copies of these folders. SoftwareDistribution stores downloaded update files, while Catroot2 contains cryptographic verification data. Renaming them forces Windows to create fresh copies the next time it checks for updates.
Step 6: Restart the Services
Type these commands in the same Command Prompt window, pressing Enter after each:
net start wuauservnet start cryptSvcnet start bitsnet start msiserver
Each command restarts the corresponding service. You should see a message confirming the service started successfully. If any service fails to start, there might be a deeper system issue that requires additional troubleshooting.
Close the Command Prompt window by typing exit and pressing Enter. Then restart your PC again to ensure all changes take full effect. After the second restart, try checking for updates one more time through Settings.
Step 7: Run the Windows Update Troubleshooter
Open Settings > System > Troubleshoot > Other troubleshooters. Windows 11 includes built-in diagnostic tools that can automatically detect and fix common update problems. The troubleshooter scans for service issues, network connectivity problems, and corrupted update files.
Find Windows Update in the list and click Run. The troubleshooter runs automatically and displays progress as it checks different components. It might suggest fixes or apply them automatically. Follow any on-screen instructions it provides.
If the troubleshooter identifies issues it can’t resolve automatically, it displays error details you can use to search for specific solutions. Note any error codes or service names it mentions.
Step 8: Check for Group Policy Restrictions
Press Win + R, type gpedit.msc, and press Enter to open the Local Group Policy Editor. This tool is available on Windows 11 Pro, Enterprise, and Education editions. If you’re on Windows 11 Home, skip this step as the Group Policy Editor isn’t included.
Navigate to Computer Configuration > Administrative Templates > Windows Components > Windows Update. Look for policies related to Configure Automatic Updates or Remove access to use all Windows Update features. These policies can disable Windows Update even if the service is enabled.
If you find any policies set to Enabled that restrict updates, double-click them and change the setting to Not Configured. Click Apply and OK. Repeat for any other restrictive policies you find. Close the Group Policy Editor and restart your PC.
If you don’t see the policies you’re looking for, they might not be applied to your system. Some enterprise environments use centralized group policies that you cannot modify locally.
Troubleshooting Common Issues
Error Persists After Enabling the Service
If error 0x80070422 returns after completing all steps, check your antivirus or firewall software. Some security programs block Windows Update connections to protect against unauthorized changes. Open your antivirus settings and look for firewall or network protection options. Add an exception for wuauclt.exe and svchost.exe processes related to Windows Update. Temporarily disabling your firewall during the update process can help identify if it’s the culprit.
Services Won’t Start or Start and Immediately Stop
When services fail to start, there’s often a dependency issue or corrupted system file. Open an elevated Command Prompt and type sfc /scannow to scan and repair protected system files. This process can take 10-15 minutes. After it completes, restart your PC and try starting the services again. If SFC doesn’t resolve the issue, run DISM /Online /Cleanup-Image /RestoreHealth to repair the Windows image.
Update Downloads But Fails to Install
If Windows Update downloads files successfully but fails during installation, the problem usually involves corrupted update packages or disk space issues. Check your available disk space by opening Settings > System > Storage. You should have at least 20 GB of free space for major updates. If space is limited, clean up temporary files or uninstall unused applications. You can also try installing updates manually by downloading them from the Microsoft Update Catalog website.
Pro Tip: If you’re frequently updating Windows and want to avoid interruptions, consider setting active hours in Settings > Windows Update > Active hours. Windows won’t restart during these hours unless you choose to restart manually.
Additional Tips for Windows Update Success
Keep your system drivers up to date, as outdated drivers can interfere with update installation. Visit your PC manufacturer’s support website or use Device Manager to check for driver updates. Ensure your network connection is stable during updates, as interrupted downloads can cause errors. If you’re on Wi-Fi, consider using an Ethernet connection for large updates.
For enterprise environments, consider using Windows Update for Business or Microsoft Endpoint Configuration Manager to control update deployment. These tools provide more granular control over which updates install and when. Regular maintenance windows help prevent unexpected restarts during critical work periods.
If you continue experiencing update errors after trying all these steps, you might need to perform an in-place upgrade using the Windows 11 Installation Media. This process repairs system files while keeping your apps and data intact. Download the media from Microsoft’s official website and follow the upgrade wizard.
Over to you: Have you encountered error 0x80070422 on your Windows 11 PC, and which fix worked best for you?