Working on a 13-inch or 14-inch laptop forces you to juggle multiple tasks in a tight space. Windows 11 Snap Layouts solve this problem by letting you divide your screen into predefined zones with a single hover or click. Instead of manually dragging window edges until they align, you pick a template and the operating system handles the resizing. This guide walks you through enabling, using, and troubleshooting Snap Layouts so you can extract every pixel of productivity from a compact display.
Before You Start: Ensure your device runs Windows 11 version 22H2 or newer. Snap Layouts require a minimum resolution of 1280×720 and work best when the taskbar sits at the bottom of the screen. If you are using a tablet or a 2-in-1, make sure your input method supports mouse or touch gestures, as the hover preview relies on pointer detection.
Step 1: Verify your display resolution and taskbar position
Open Settings and navigate to System > Display. Check the Display resolution dropdown and confirm it matches your screen’s native specification. Running at a lower resolution shrinks the maximize button area and can prevent the Snap Layouts overlay from appearing. Next, scroll to the Taskbar settings section and set Taskbar behavior to Never auto-hide. A fixed taskbar keeps the maximize button visible and gives your cursor a reliable target.
Step 2: Open the applications you want to arrange
Launch at least two programs you need to view simultaneously. Keep them in their default floating state so you can practice assigning them to specific zones. Having your target apps ready eliminates the back-and-forth of minimizing and reopening windows while you experiment with layouts. You can open them from the Start menu, taskbar, or by pressing Win + R and typing the app name.
Step 3: Hover over the maximize button to reveal Snap Layouts
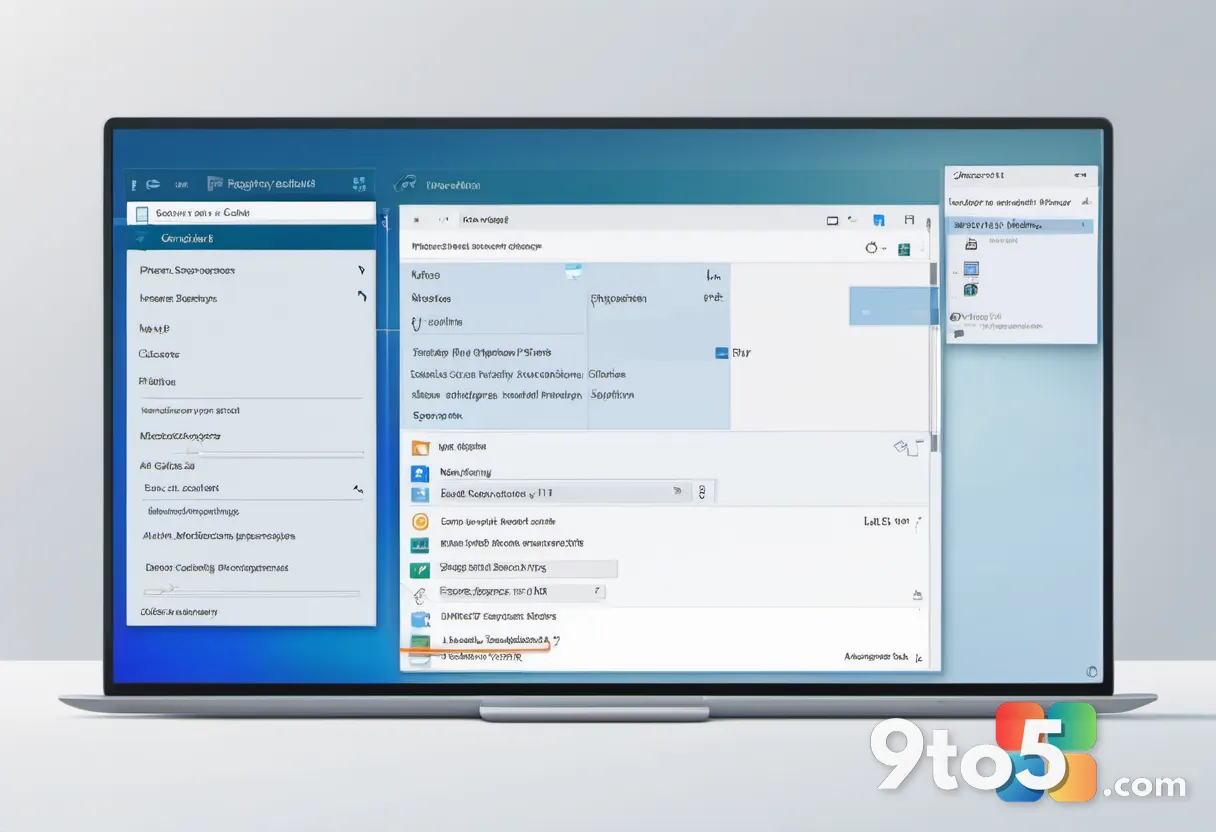
Move your cursor to the top-right corner of any open window and rest it on the square maximize icon. A translucent overlay will appear showing several layout options, ranging from two equal panels to complex three-zone arrangements. This preview works regardless of whether you use a mouse, trackpad, or touch input. If the overlay does not appear, verify that you are hovering directly over the maximize button rather than the title bar.
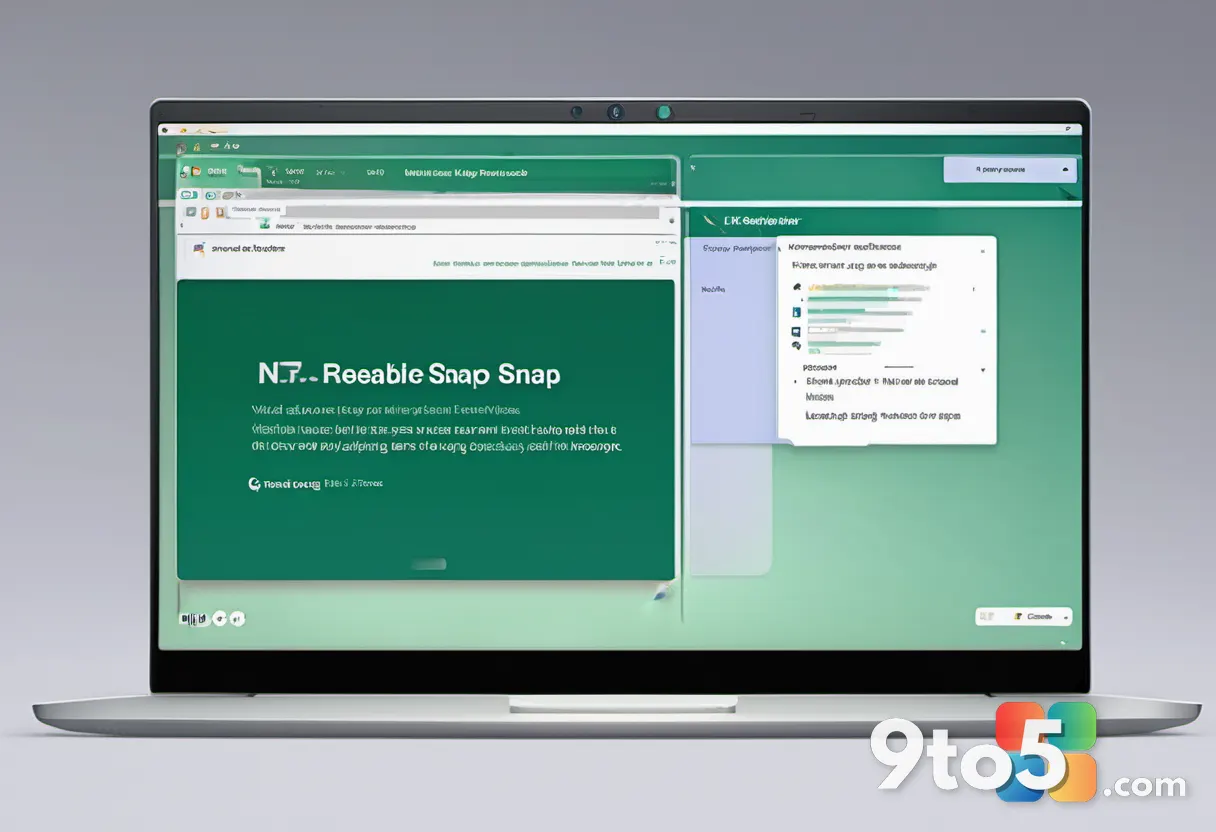
Step 4: Click a layout template to assign your windows
Choose the arrangement that best fits your current workflow. Windows 11 will immediately resize your open windows to fill the selected zones. If fewer windows are open than zones exist, the system leaves the remaining areas empty until you drag another app into place. You can click and hold a window title bar to drag it into any empty zone, or rely on Snap Assist to fill the gap automatically.
Step 5: Use Snap Assist and keyboard shortcuts to speed up the process
When a zone remains empty, Snap Assist displays thumbnails of your other open windows along the right edge of the screen. Click any thumbnail to instantly fill that space, or press Alt + Left Arrow to snap the active window to the left half. These shortcuts eliminate the need to hunt for the maximize button every time you switch tasks. You can also press Win + Left/Right Arrow to move a snapped window to the opposite side of the screen.
Pro Tip: Hold Win + Shift + Left/Right Arrow to move a snapped window to another monitor instantly. This shortcut keeps your layout intact while you expand your workspace.
Step 6: Customize or reset your preferred Snap Layouts
Open Settings and go to System > Multitasking. Under the Snap Layouts section, you can toggle the feature on or off, adjust the hover delay, and choose whether Snap Assist appears after you snap a window. If you want to start fresh, click the Reset button to clear any custom zone adjustments you have made. Windows 11 will restore the default layout grid across all connected displays.
Troubleshooting Common Snap Layouts Issues
Layouts do not appear when hovering
If the overlay fails to show, check that Snap Layouts are enabled in Settings > System > Multitasking. Some third-party window managers, such as older versions of PowerToys or commercial tiling tools, can override the native hover behavior. Disable those utilities temporarily to confirm they are not interfering. You can also try restarting the Windows Explorer process by opening Task Manager, locating Windows Explorer, and selecting Restart.
Windows refuse to resize or stay snapped
Fullscreen applications, certain video players, and some legacy programs disable snapping by design. Check whether the app is running in true fullscreen mode rather than borderless windowed mode, as the latter usually allows Snap Layouts to function. If the issue persists, right-click the app icon on the taskbar, select Properties, and change the Compatibility setting to run in 800×600 resolution temporarily. This forces the system to treat the window as resizable.
Snap Assist thumbnails are missing
When Snap Assist does not display your open windows, verify that the Snap Assist toggle is enabled in the same Multitasking settings panel. Corrupted thumbnail caches can also cause blank previews. Press Win + R, type %localappdata%, and delete the TileData and MediaCache folders inside the LockApp directory. Sign out and back in to rebuild the cache. Your snapped layouts will remain intact after the refresh.
Final Tips for Small-Screen Productivity
Combine Snap Layouts with Snap Groups to save your window arrangements. When you close a snapped set of apps, Windows 11 prompts you to reopen them together later. Use the taskbar preview thumbnails to switch between saved groups without breaking your workflow. Keep frequently used apps pinned to your taskbar so you can drag them into empty zones instantly. With these habits in place, a compact display stops feeling like a limitation and starts functioning as a focused command center.
Over to you: Which Snap Layout arrangement do you reach for most often on your laptop?