Robocopy in Windows is a command-line utility that ships with the operating system, and it quietly outperforms File Explorer for many file-copy jobs. If you’ve ever watched a multi-gigabyte transfer stall, fail partway through, or leave you redoing work after a network hiccup, this tool is worth learning.
What is Robocopy in Windows, exactly?
Robocopy stands for “Robust File Copy.” It began life as a standalone utility in the Windows Resource Kit for Windows 2000, and Microsoft eventually folded it into the operating system itself, where it has been available by default since Windows Vista.
Unlike the plain COPY command, Robocopy was designed from the start to handle the messy reality of copying data across networks and drives. It was built to be resilient: it retries failed operations, resumes interrupted transfers, and logs everything it does. That makes it a natural choice for anything larger or more important than a handful of documents.
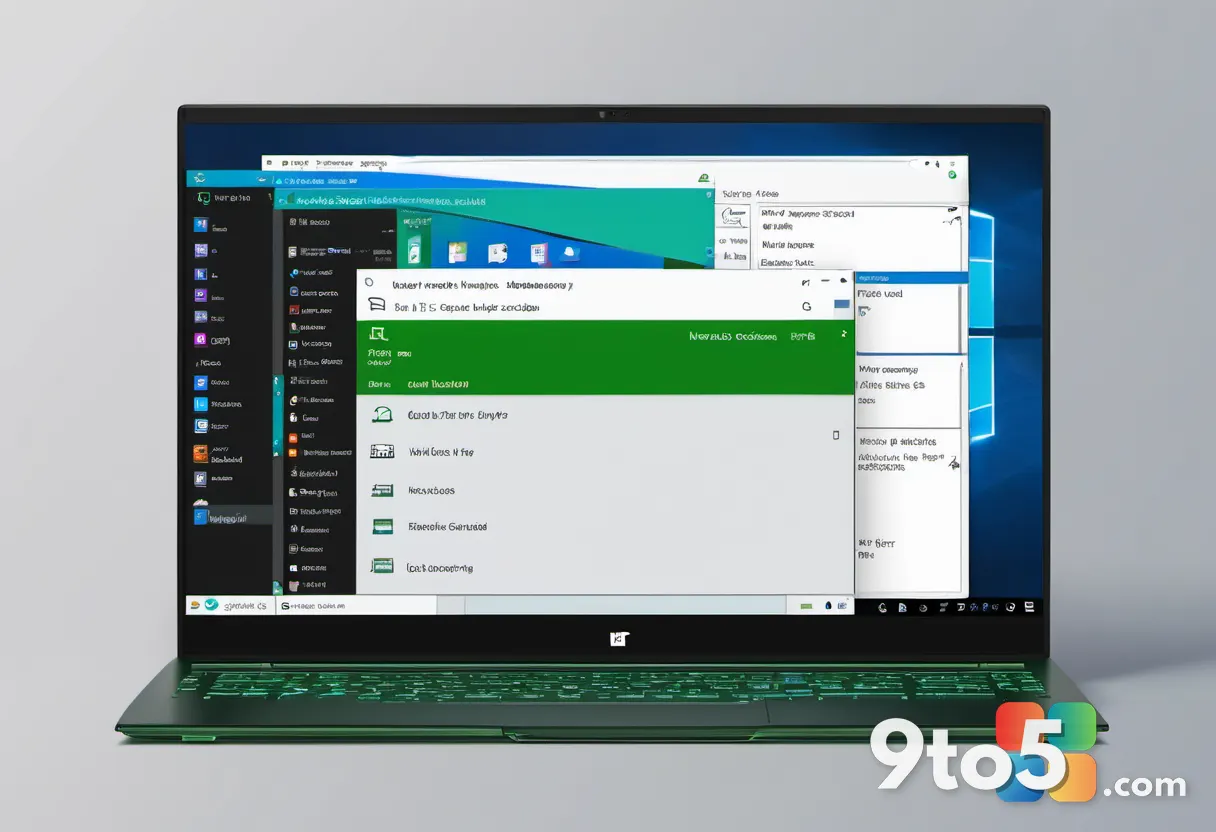
The tool runs in Command Prompt or Windows Terminal, and it accepts a long list of options that let you control exactly how files are copied. You don’t need third-party software or a graphical interface to get the job done, which is part of why it remains a favorite among power users and IT pros alike.
Why Robocopy beats File Explorer for big transfers
File Explorer is fine for dragging a few files from folder to folder, but it wasn’t built for heavy lifting. Robocopy addresses the specific ways that everyday experience breaks down.
The biggest advantage is resilience. When a copy is interrupted by a network drop, a sleep cycle, or a disconnected drive, Robocopy can pick up where it left off instead of starting over. It also defaults to a high number of retries with a short wait between them, so transient errors rarely kill a job outright.
Robocopy also moves entire directory trees in one shot, preserving timestamps, file attributes, and access-control entries. That matters if you’re migrating a project or building a backup where the structure and metadata need to survive the trip intact.
Key Robocopy options you’ll actually use
Robocopy has dozens of switches, but you’ll reach for a handful in most situations. Here are the ones that matter most:
- /E copies all subdirectories, including empty ones.
- /S copies subdirectories but skips empty ones.
- /MIR mirrors a source directory tree to a destination, which also deletes files in the destination that no longer exist in the source.
- /Z copies files in restartable mode, so an interrupted transfer can resume.
- /R:n sets how many times a failed copy is retried (the default is a very high number).
- /W:n sets the wait time between retries, in seconds.
- /LOG:file writes a report of the copy operation to a text file.
- /XF and /XD exclude specific files and directories from the copy.

Understanding these few options gets you most of the way there. The remaining switches are refinements for edge cases, such as FAT file-time granularity or backup-mode permissions, and you can find the full list documented on Microsoft Learn if you ever need them.
Real-world Robocopy examples
To see how this works in practice, consider a basic mirror command:
robocopy "C:\Projects" "D:\Backup\Projects" /MIR /LOG:"D:\backup.log"
This mirrors everything under your Projects folder to a backup drive, deleting anything in the destination that has been removed from the source, and writes a log you can review later. It’s a solid starting point for an automated backup routine.
If you only want to move new and updated files without wiping the destination, drop the /MIR flag and add a filter instead:
robocopy "C:\Photos" "E:\Photos" /E /IS /XF *.tmp
The /IS flag includes “same” files (those already present in both locations), while /XF skips temporary files. This kind of selective copy is useful for incremental backups that shouldn’t overwrite existing data, and it’s the kind of job where File Explorer would happily clobber or skip things without you noticing.
What this means for you
For everyday users, Robocopy matters most when a copy job is large, important, or prone to interruption. If you regularly move gigabytes of data between drives, sync a working folder to a backup location, or build automatic backups, this built-in tool removes the guesswork and the redos.
It’s not a graphical replacement for File Explorer, and it won’t help with a quick one-off copy of a few files. But for anything where reliability and metadata preservation actually count, it does the job File Explorer sometimes fumbles.
How to get started with Robocopy
Robocopy is already installed on your machine—there’s nothing to download or set up. Open Command Prompt or Windows Terminal and type robocopy, optionally followed by the source and destination paths and any options you want.
Because it runs in a text interface, it’s also scriptable, which is why many people use it to power scheduled tasks and automatic backup routines. A few minutes spent learning the core options pays off every time a transfer would otherwise stall or fail.
Source: Neowin
Over to you: Do you still reach for File Explorer, or have you switched to Robocopy for your big transfers? What’s the largest copy job you’ve run it on?